![]()
Pixelhobby is a mosaic craft which brings any of your favourite images to life.
By placing the colour pattern or instruction sheet under the transparent baseplate, you can see exactly where each pixelsquare can be placed. It is as simple as placing the pixels on to each of the pins on the baseplate! The pixels fit and hold in to place without any glue or ironing required. If you make a mistake, don’t panic. The pixels can be easily taken off and placed in the correct position.
There are 2 different sizes of pixelsquare: STANDARD and XL. XL pixels are four times as large as the standard option and are placed over 4 pins on the baseplate as opposed to 1.


We recommend XL pixel products for ages ranging from 4 years and older.
We recommend STANDARD pixel products for ages ranging from 6 years and older.
For larger kits, 1 Baseplate and larger (excluding XL), your pixel picture will be created via a black white pattern sheet. Only 4 symbols are used to correspond the colour numbers that are located on the back of every pixelsquare sheet. Simply slide the transparent baseplate over the pattern to see exactly where to place which pixel colour without having to count the spaces/pins. Continue this process on each pattern sheet until the entire plate is full of pixels.
![]()
Top tips:
Look for the arrow on the rear of the baseplate. When creating your artwork it is important that the direction of the arrow always points in the same direction. It doesn’t matter which way it points, just be consistent.
Purchase our working frame to stop your baseplate from moving. Place the baseplate over the pattern and the working frame over the baseplate. Secure the working frame with tape or tac. [Product link]
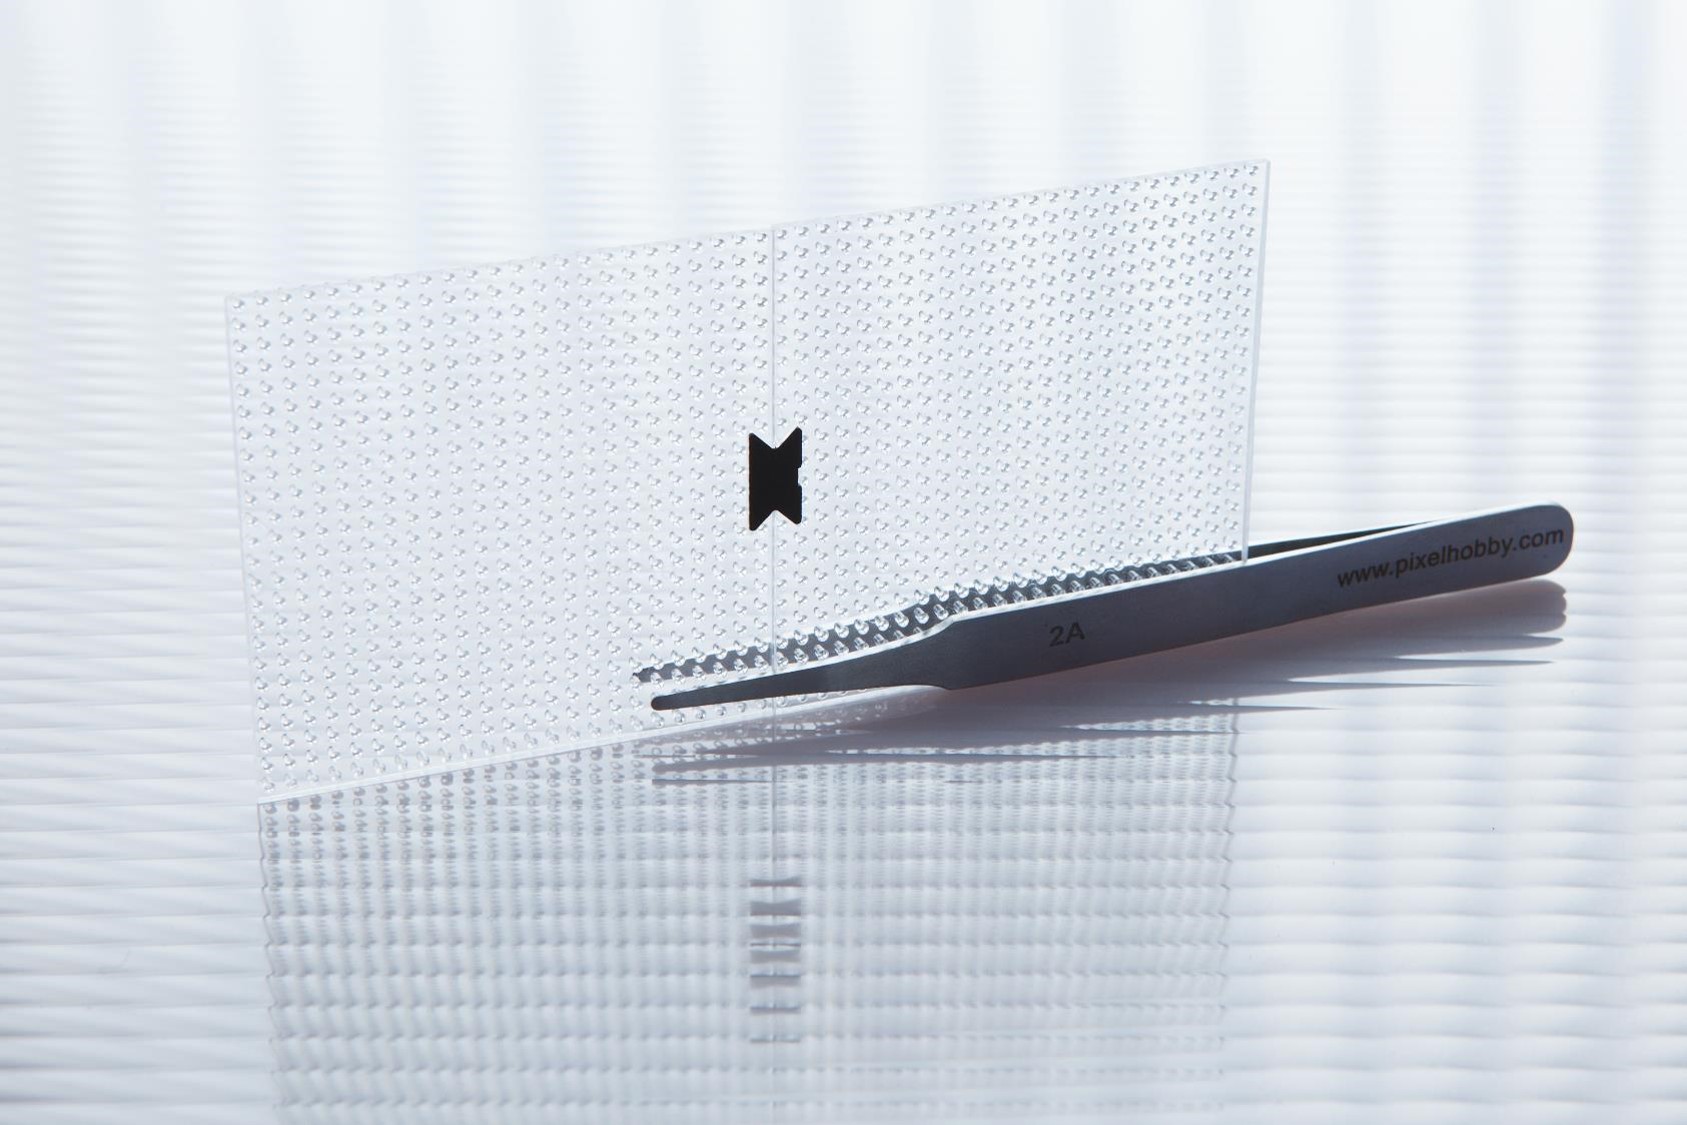
Dovetail clips & Framing:
On the back of the baseplate, you will find notches for the dovetail clips. With these clips, you can link baseplates together to form larger artwork pieces.
For a full a tutorial on using the dovetail clips and framing your artwork, please refer to [youtube video].